


安装
Mac
准备
-
首先执行命令确认指向仓库:
$ brew tap mongodb/brew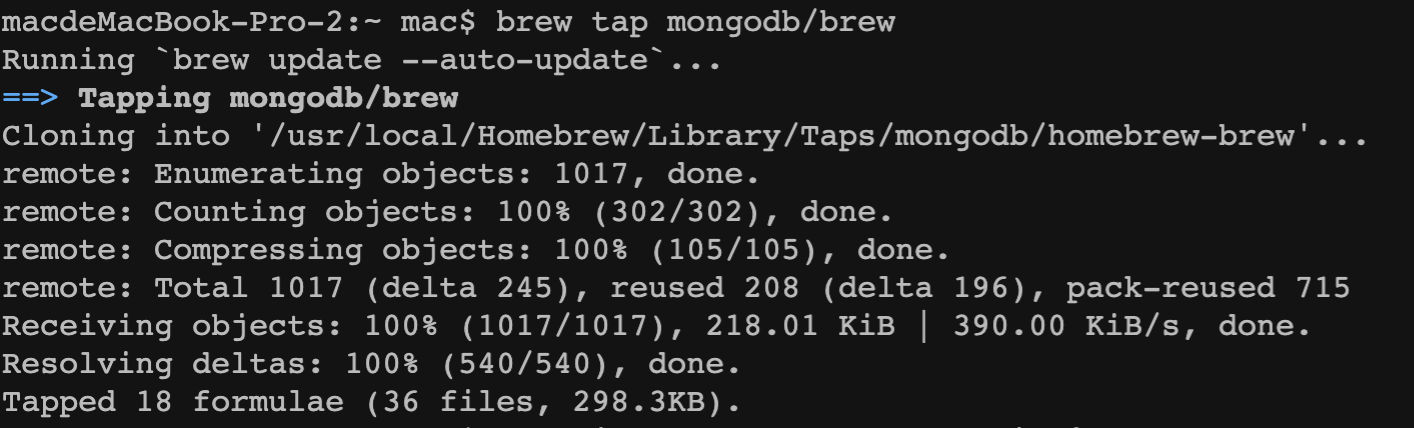
-
接着安装
MongoDB 5.0社区版$ brew install mongodb-community@5.0 -
根据文档所示,本次安装包函以下内容:
The installation includes the following binaries: - The mongod server - The mongos sharded cluster query router - The MongoDB Shell, mongosh -
安装后的默认目录
标题 intel 芯片 M1 芯片 配置文件 /usr/local/etc/mongod.conf /opt/homebrew/etc/mongod.conf 日志目录 /usr/local/var/log/mongodb /opt/homebrew/var/log/mongodb 数据目录 /usr/local/var/mongodb /opt/homebrew/var/mongodb 
The installation includes the following binaries:
The mongod server
The mongos sharded cluster query router
The MongoDB Shell, mongosh
启动与停止
- 启动
$ brew services start mongodb-community@5.0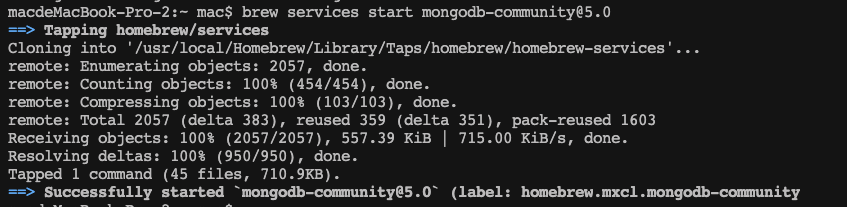
- 停止
$ brew services stop mongodb-community@5.0
测试连接
安装完成后, 我们需要测试一下是否可用, 直接执行命进入mongodb(记住先启动)
$ mongosh
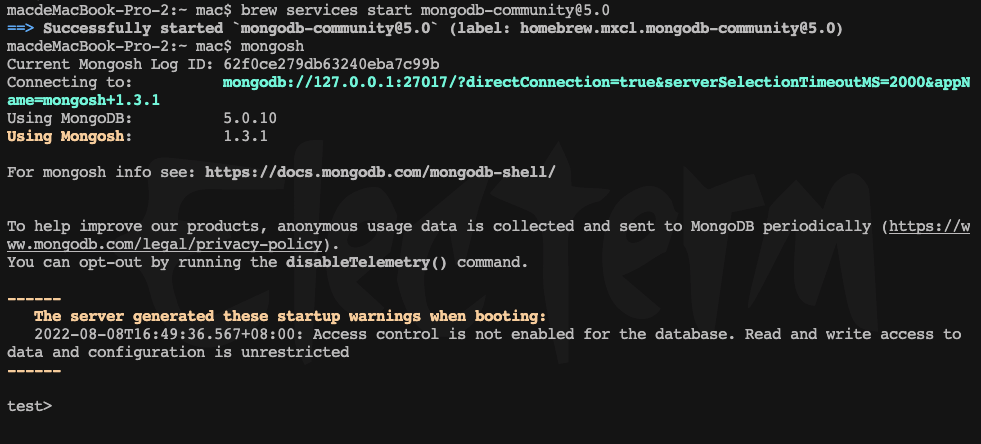
短暂的等待后, 会进入到mongo环境中, 简单测试下命令
show dbs
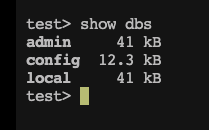
一切正常, 至此安装就结束了
配置用户密码
MongoDB默认安装完是没有密码的, 只需要使用ip地址、端口号、数据库等就可以连接, 为了安全考虑, 我们设置一下密码
新建用户
-
首先我们新建
root账号(以下操作默认都在mongo环境下)use admin db.createUser({ user: "root", pwd: "xxxxx", roles: [{ role: "root", db: "admin" }] })出现提示:

说明已经创建成功, 我们使用
show users命令则可以看到。同理, 也可以新建一些专门访问权限的用户, 比如某个库的只读账号等. 关于上面命令中出现的角色以及权限可以在 文档中查看
开启权限校验
现在重启MongoDB,默认启动MongoDB服务是没有开启访问控制的, 我们可以使用参数--auth来启用
$ mongod --auth --port 27017 --dbpath /usr/local/var/mongodb
稍等片刻即可
或者我们可以修改配置文件/usr/local/etc/mongod.conf添加如下参数:
security:
    authorization: enabled
接下来输入密码登录对应的数据库即可:
$ mongo --port 27017 --authenticationDatabase "admin" -u "root" -p
评论区